
Boulders
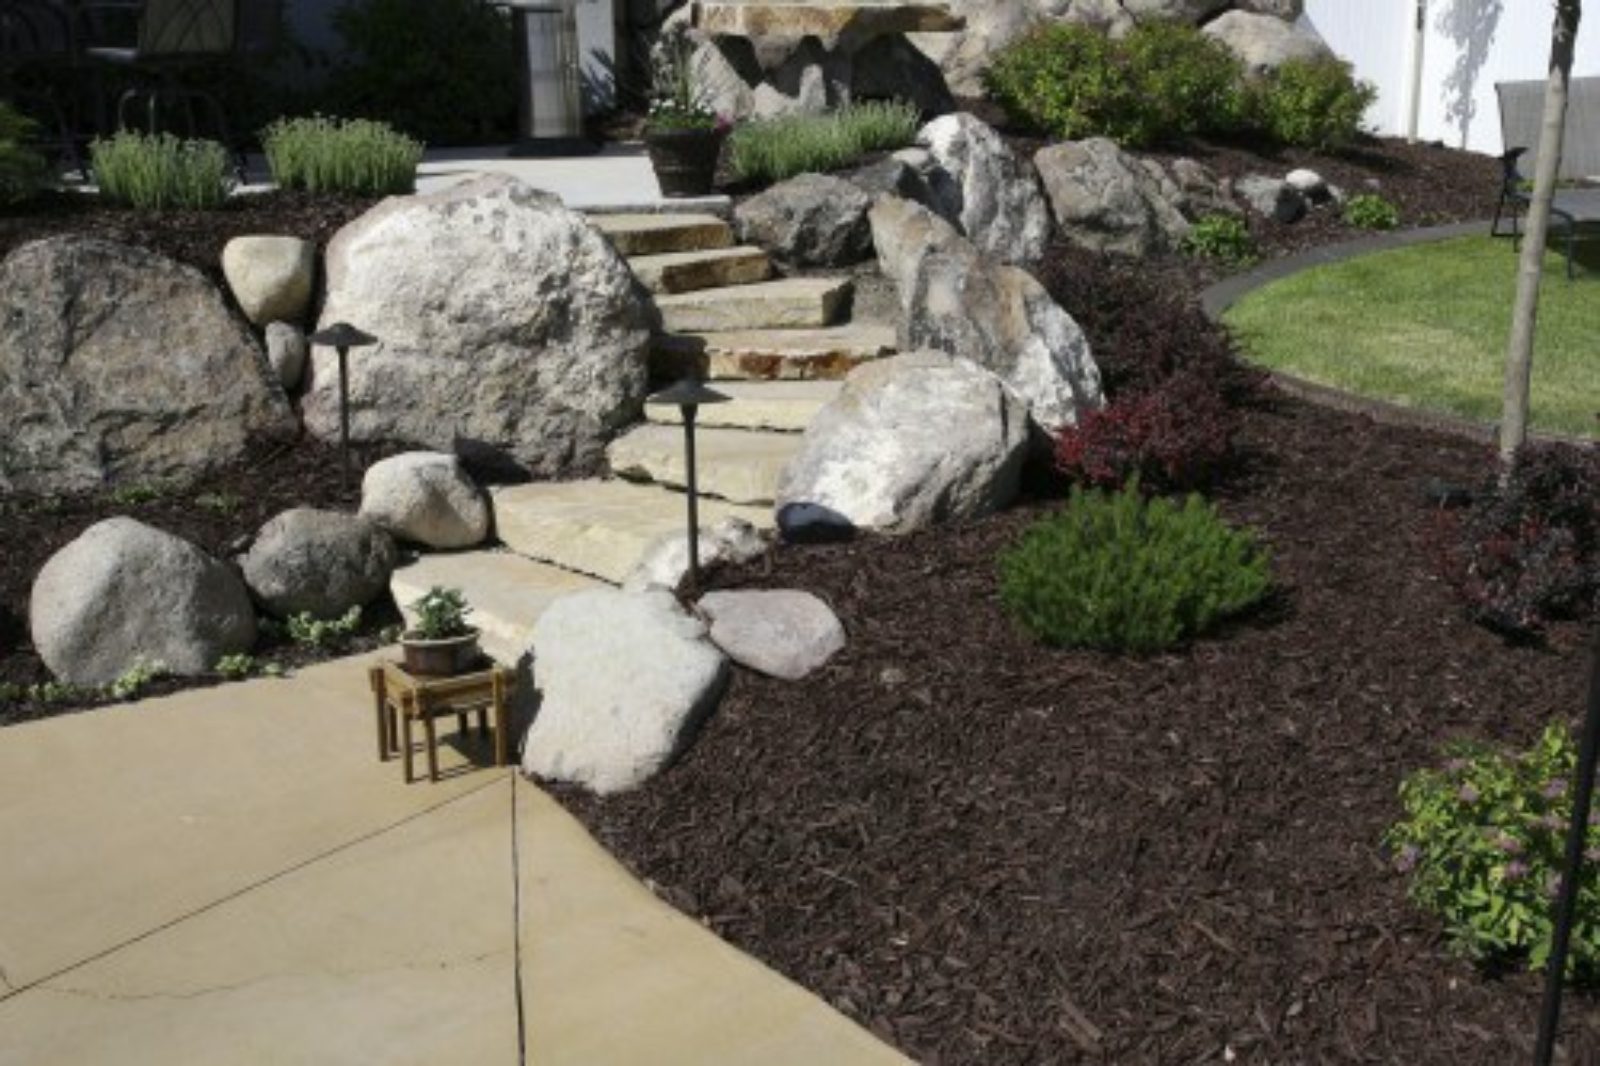
Large Michigan sourced fieldstones are called boulders. Boulders are rocks big enough to create retaining walls. Individual boulders are also commonly used in a landscape bed to add a feature or accent.
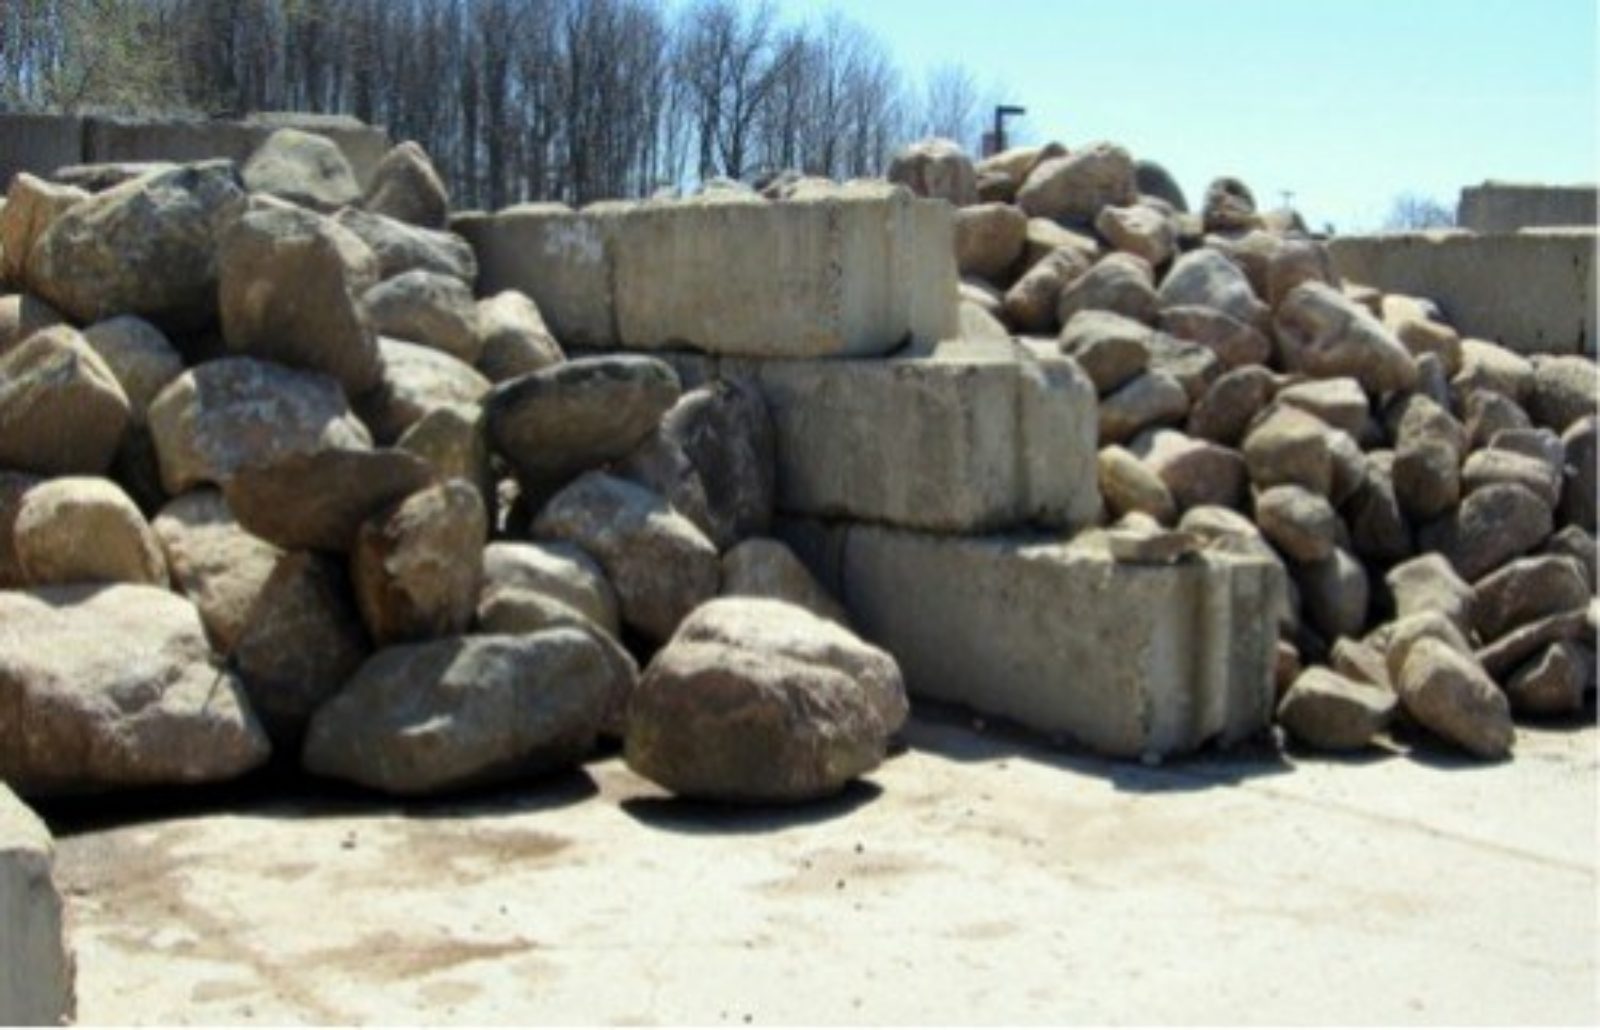
All of our boulders are double sorted on cement. Each rock is classified based on size and placed in the appropriate cement bin. The extra effort put into sorting the boulders pays off with numerous benefits for our customers. Wall construction will be quicker due to less fiddling around finding the right rocks since there are more consistently sized, useable rocks to choose from. The final wall design is more likely to look and function how you intended since you were not forced to use rocks which were not a desirable size. The boulders are virtually free from dirt and debris resulting in more rocks for your money and less of a mess to clean up. Scroll down further on this page for detailed tips on using boulders.
4” – 8” Border Rocks
The smallest are 4” to 8” borders stones. These are great to use around a landscape beds to create a natural looking border which separates the grass from the bed. Scroll down this page further for detailed tips on using boulders in your landscape.
$175.00 / Cu. Yard

8” – 12” Small Boulders
The next size is the 8” to 12” boulders. These are substantial enough to build small retaining walls. These boulders will not require powered machinery to put into place although they are very heavy. Other tools may be necessary to use for leverage as the largest ones can weigh easily up to 150+ lbs. These are the largest rocks recommended for building walls where powered machinery is not available.
$190.00 / Cu. Yard
12” – 24” Medium Boulders
The next size is the 12” to 24” boulders. These are the most common boulders used for constructing retaining walls. These rocks should be handled with powered equipment to avoid injury and for ease of placement, considering a 24” rock can weigh as much as 700 lbs. Typically a professional landscaper will use these together with some 24” to 36” boulders and a skid-steer loader to construct a retaining wall.
$195.00 / Cu. Yard
24” – 36” Large Boulders
The largest size is the 24” to 36” boulders. These are typically used in conjunction with the 12” to 24’ boulders to build medium and large retaining walls. We do also keep a stock of pudding stones and feature stones if you are looking for something special in an accent boulder. Boulders are sold individually, or by the cubic yard. One cubic yard weighs approximately 1 ½ tons or 3,000 lbs.
$240.00 / Cu. Yard
Handling the Boulders
Boulders are very heavy. For example a 12" rock weighs about 100 lbs a 18" rock weighs about 300 lbs and a 24" rock weighs about 700 lbs. An 18" rock may be able to be moved with a pry bar and hand cart. It would be extremely difficult to move a 24" rock with those types of hand tools. We do recommend using a skid-steer (Bobcat) loader when handling the 12" to 24" or 24" to 36" boulders. If you do not have experience moving big rocks and do not have a skid-steer loader, using the 8" to 12" rock is recommended because of the weight.
Choosing Your Size
Before ordering boulders it is recommended that you look at the sorted boulders in the bins at our store to get a better idea of the characteristics of the rocks. Consider the height of the structure; and also the size of the rocks you can handle. Most professional landscapers use fairly large rocks to construct walls such as a combination of 12" to 24" and 24" to 36" boulders. Larger well-placed boulders can look natural, simple and attractive. Walls up to about 2½’ high can be constructed using the 8" to 12". Higher walls should use larger rocks because of the need for additional structural support or consider a design using 2 levels or terracing with the smaller rocks.
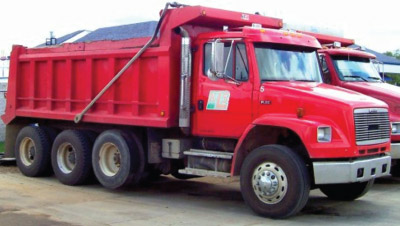
Boulders will be delivered in a large heavy-duty dump truck. Keep in mind that the truck may not be able to get to the location of the wall. Have a couple possible dump locations in mind. Dumping boulders on a cement or asphalt driveway is not recommended since it will damage the driveway. A 20' x 20' area is needed to dump a 10 cubic yard load because the boulders can spread out when they come out of the truck.
Size | Estimated Weight per Rock | Estimated Rocks per Yard |
| 8" - 12" | 30 lbs - 170 lbs | 25 - 40 per cubic yard |
| 12" - 24" | 170 lbs - 700 lbs | 8 - 20 per cubic yard |
| 24" - 36" | 700 lbs - 1400 lbs | 2 - 4 per cubic yard |
Estimating Your Needs
To estimate how much you need, calculate the surface area as you are looking at the wall by multiplying the height by length to get square feet of surface area. Divide your estimated surface area by the rough estimate of coverage per cubic yard for each boulder size. When using a combination of 12" to 24" and 24" to 36" rocks our estimate for coverage is 15 square feet of surface area per cubic yard. Figure greater coverage for smaller rocks (18 to 20 square feet) and less coverage if using bigger rocks (12 to 15 square feet).
Basic Installation Instructions
One approach is to place rocks so the flattest part of each rock faces outward. Piece the rocks together like a puzzle minimizing the gaps while maximizing the flat outward facing surface. Maintaining good rock to rock contact will provide structural strength. Use the largest rocks on the bottom. Angle the wall back a minimum of 3" for every 1' high, fill in behind rocks as you go to stabilize with a good packable soil. Use the roundest rocks on top. Other approaches to constructing walls are placing larger boulders in a more haphazard way to create a natural look, or egg shaped rocks can be stacked in a more symmetrical pattern using similar sized rocks throughout.
Suggested Tools and Equipment
- Spade/round shovel for digging a base trench and backfilling
- String with stakes and marking paint for setting up location
- Pry bar for moving and rotating smaller boulders
- Skid-loader or backhoe for moving large boulders and backfilling
- Tamping bar or power plate tamper for compacting soil
- Tape Measure
Detailed Instructions
Measure and lay out the area where the boulder wall is to be built. Use stakes and string to create a straight level line. Paint or flags are used on curves. Dig a trench deep enough to accommodate 1/3 to 1/2 of the depth of the first row of boulders. The first row of boulders must be partially buried in the soil to provide stability and strength for the wall. Set the first course of boulders into the trench. The largest boulders should be used in the first row to anchor the wall securely in place. They should be approximately equal in size so the second course is relatively level. Backfill soil against the back of the first course and tamp thoroughly. Pack soil up to the height of the base course to provide a level surface for the second course of boulders. The second and subsequent courses should be set back into the hill to provide strength for the wall. The setback is generally 25% (3 inches per every 1 foot of elevation). Place boulders on top of the base course so that seams in the second course do not match seams of the first course. If seams match, it will create a weak spot in the wall. Select each boulder to fit as tightly as possible with the adjacent boulders. Rotate boulders until a good fit is achieved. The wall will be stronger with more surface area contact between boulders due to the friction that is created. Continue adding each course, backfilling and tamping soil behind the wall after each course is in place.
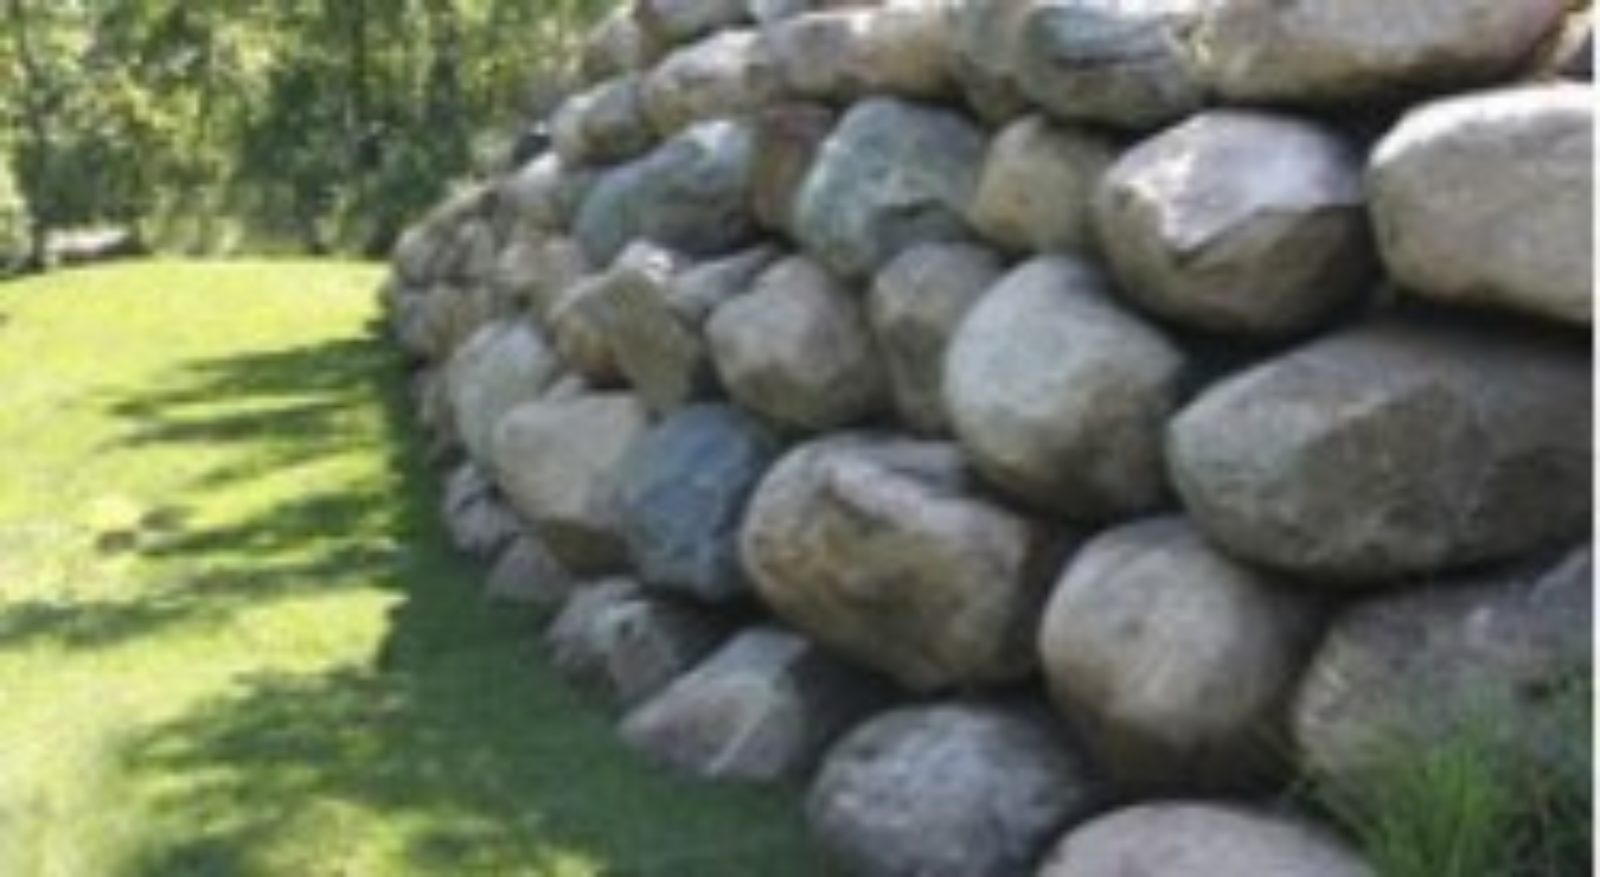
Wall Style
In Lower Michigan we have mostly round rocks. Rocks from gravel pits are generally more round than those sourced from farm fields. Round or egg shaped rocks can create a unique and attractive wall when done right. Our priority in sourcing boulders is to get rocks which have some irregular shape, so walls can be constructed with a fitted look. We also look for more colorful rocks when possible. The boulders are carefully size sorted on cement so they are delivered with minimal dirt or debris.